Flip cards present a question on the front of a card and reveal the answer on the back. Use flip cards for quick recall exercises, key term definitions, or any pairing of a prompt with its response.

Flip cards work in lessons. Each element contains one or more cards, and every card has two faces with a short descriptor at the top — Question on the front and Answer on the back by default.
Every card in a flip cards element is the same size. The front face shows the question; the back face stays hidden until the learner selects the card to flip it. Selecting the card again returns it to the front.
Flip cards keep a consistent size in the editor and the learner preview. If a question or answer is longer than the card, the extra content scrolls inside the card so your lesson layout stays consistent. In exported PDFs, each face grows to fit its content instead, since there is no flip interaction in print.
Flip cards are keyboard accessible. Learners can focus a card and press Enter or Space to flip it, and screen readers announce the back face when it appears. The flip animation respects the operating system's reduce motion setting.
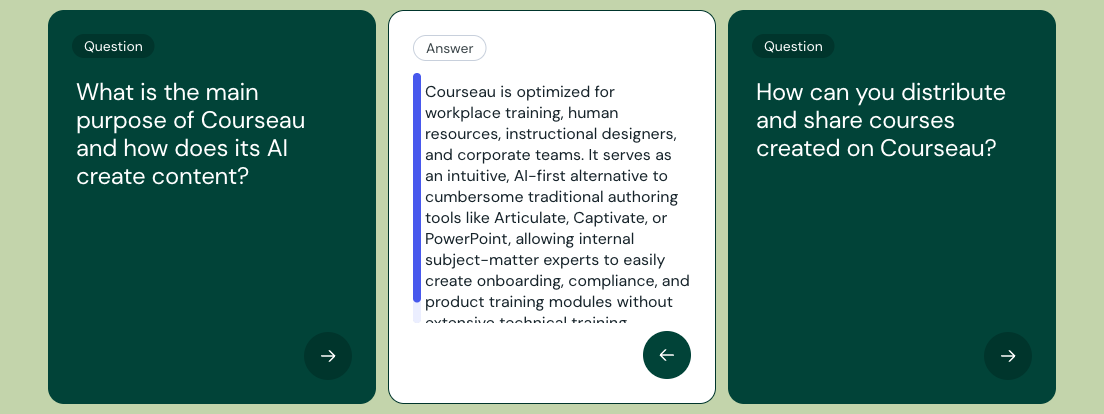
1. Select Flip Cards from the element list to add it to your lesson.
2. Hover over the component and select Edit.
3. Enter the question on the front face and the answer on the back face.
4. Select Add card to add another card, and repeat for each pair you want.
5. Select Preview to check how the flip cards appear to learners
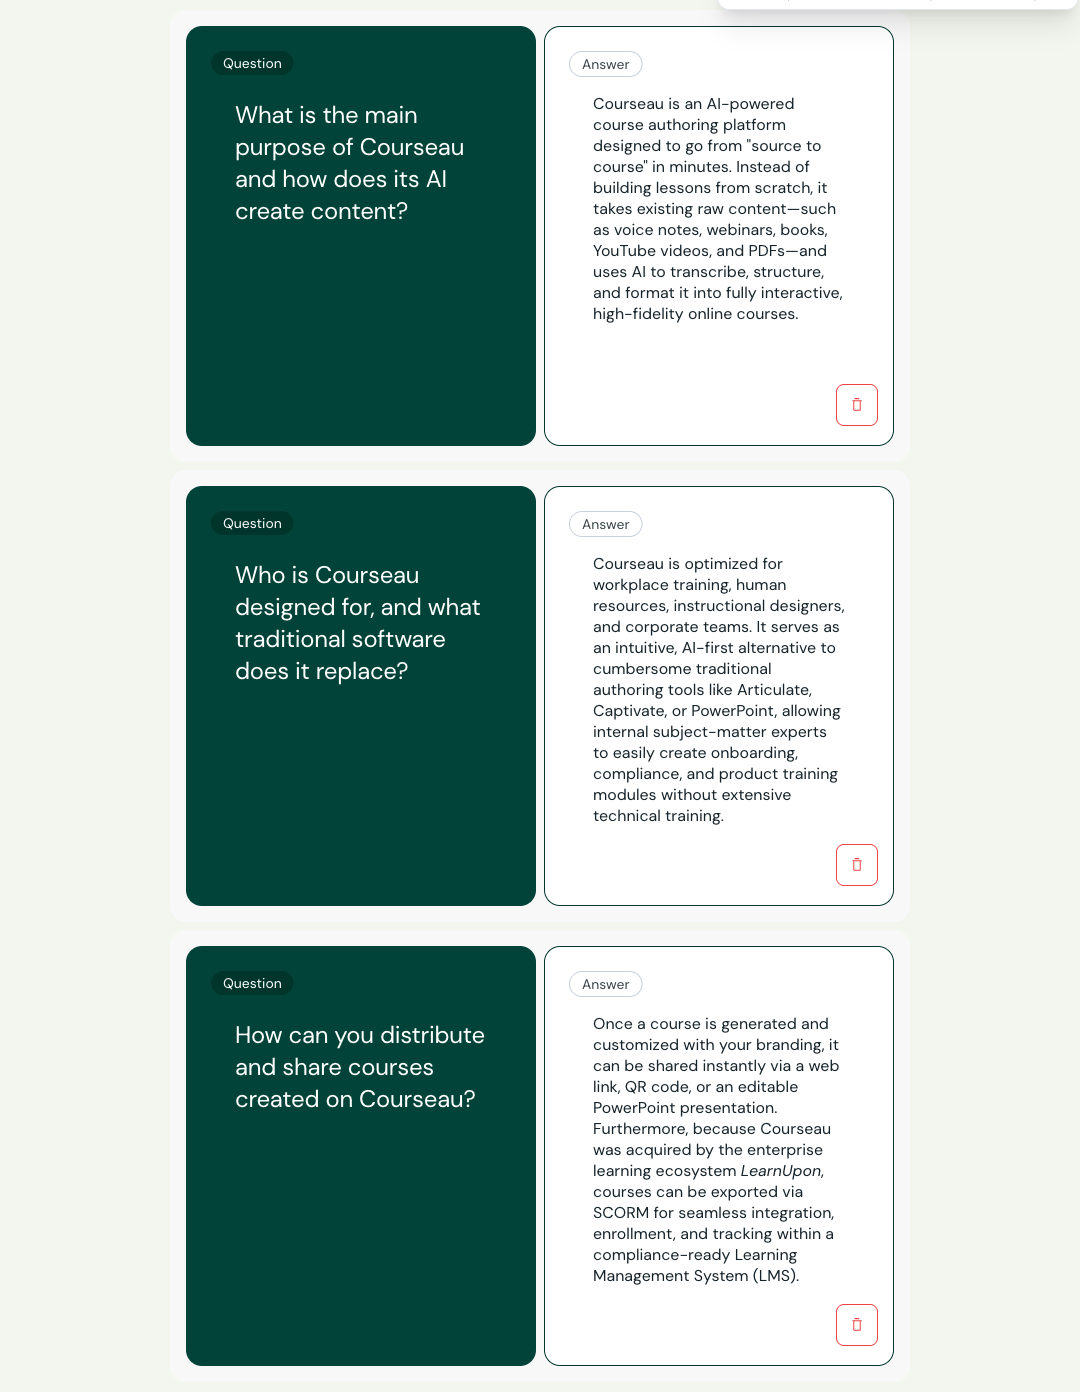
By default, the front face is labeled Question and the back face Answer. You can rename them for any flip cards element — for example Term and Definition for a vocabulary check, or Concept and Example for a teaching aid.
1. Select the descriptor pill at the top of the front or back face in the editor.
2. Enter the new descriptor and press Enter to save.
The new descriptors apply to every card in that element.
A flip card face can show an image instead of text. You can add an image to the front face, the back face, or both — for example a photo on the front and its explanation on the back.
1. Hover over the face you want to change and select Edit.
2. Select Add image, then choose, upload, or generate an image in the image picker.
3. Choose how the image fills the face: Cover fills the whole face, while Contain shows the entire image centered within it.
4. To swap the picture later, select Replace image; to go back to text, select Remove image.
5. To make the image accessible, enter a description in the Alt text field in the image options menu. Screen readers read this description to learners who cannot see the image.
Flip cards inherit colors from your selected theme. With custom themes, you can:
change the secondary color to update the background of the front face
change the accent color to update the background of the descriptor pill on the front face
Keep questions short and self-contained so learners can read them at a glance.
Pair each question with a concise answer. Long text scrolls inside the card but is harder to scan than a brief response.
Group related prompts in one flip cards element rather than mixing unrelated topics.
Use custom descriptors to set expectations. Term and Definition signals a vocabulary check; Concept and Example signals a teaching aid.
