
The default way to create a course is the Generate flow: you provide sources and a few prompts, and the AI designs the structure and writes the content for you. This guide walks through each step and what a strong input looks like.
One idea ties the whole flow together: your sources decide what gets taught, your learner profile decides how deep and in what voice, your outcomes decide what learners should be able to do, and the length decides how much. The single most useful habit is to keep your learner profile, your outcomes, and your outline at the same level. Align those three and the course lands well; let them drift apart and it feels off.
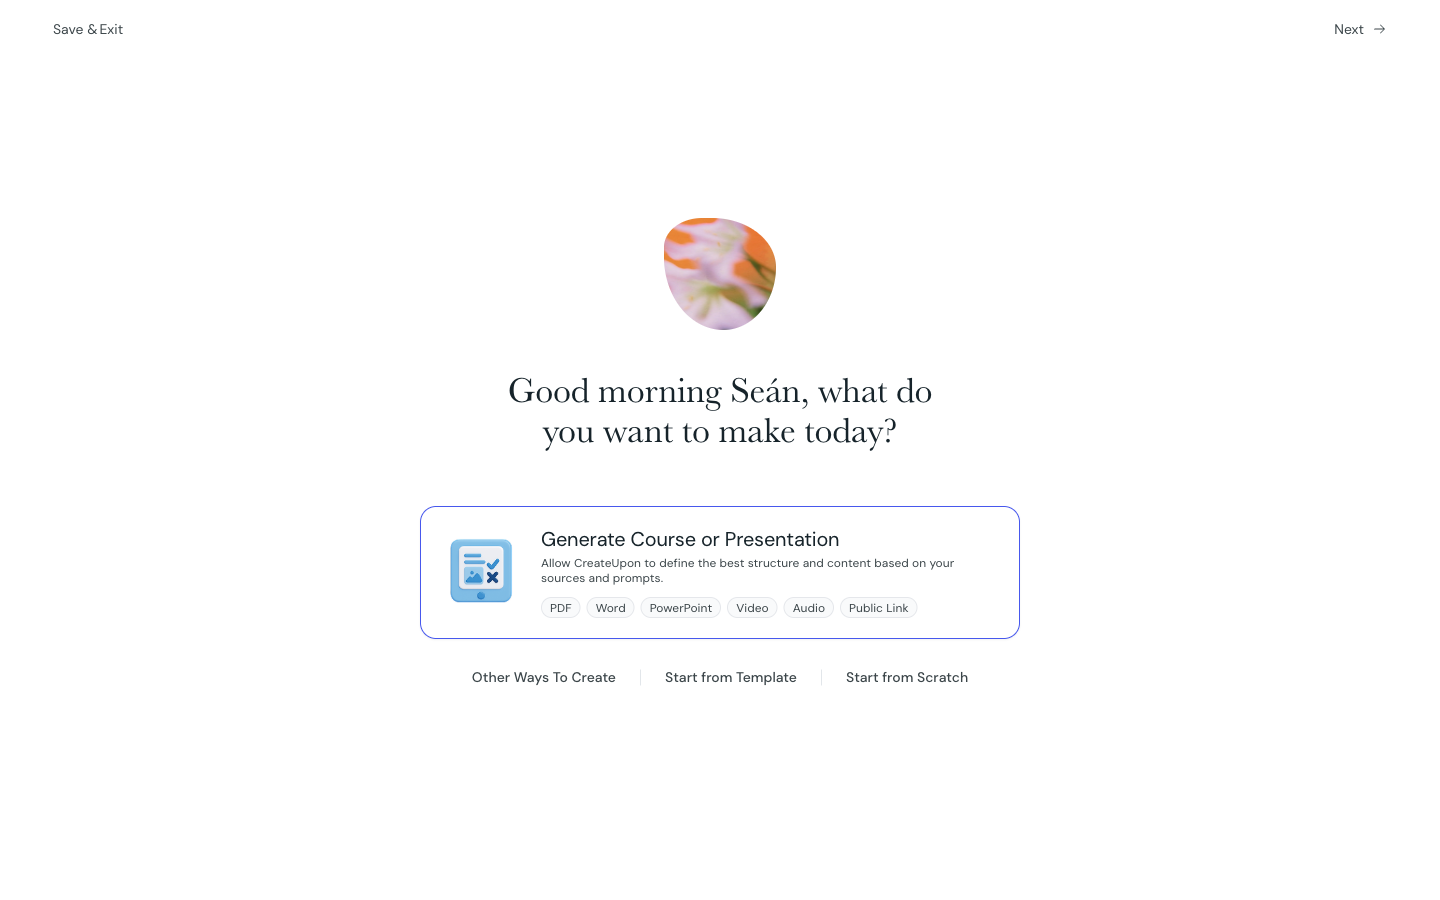
Start by choosing how to build the course. The default and recommended option, Generate Course or Presentation, lets the AI design the best structure and content from your sources and prompts. The rest of this guide covers that flow.
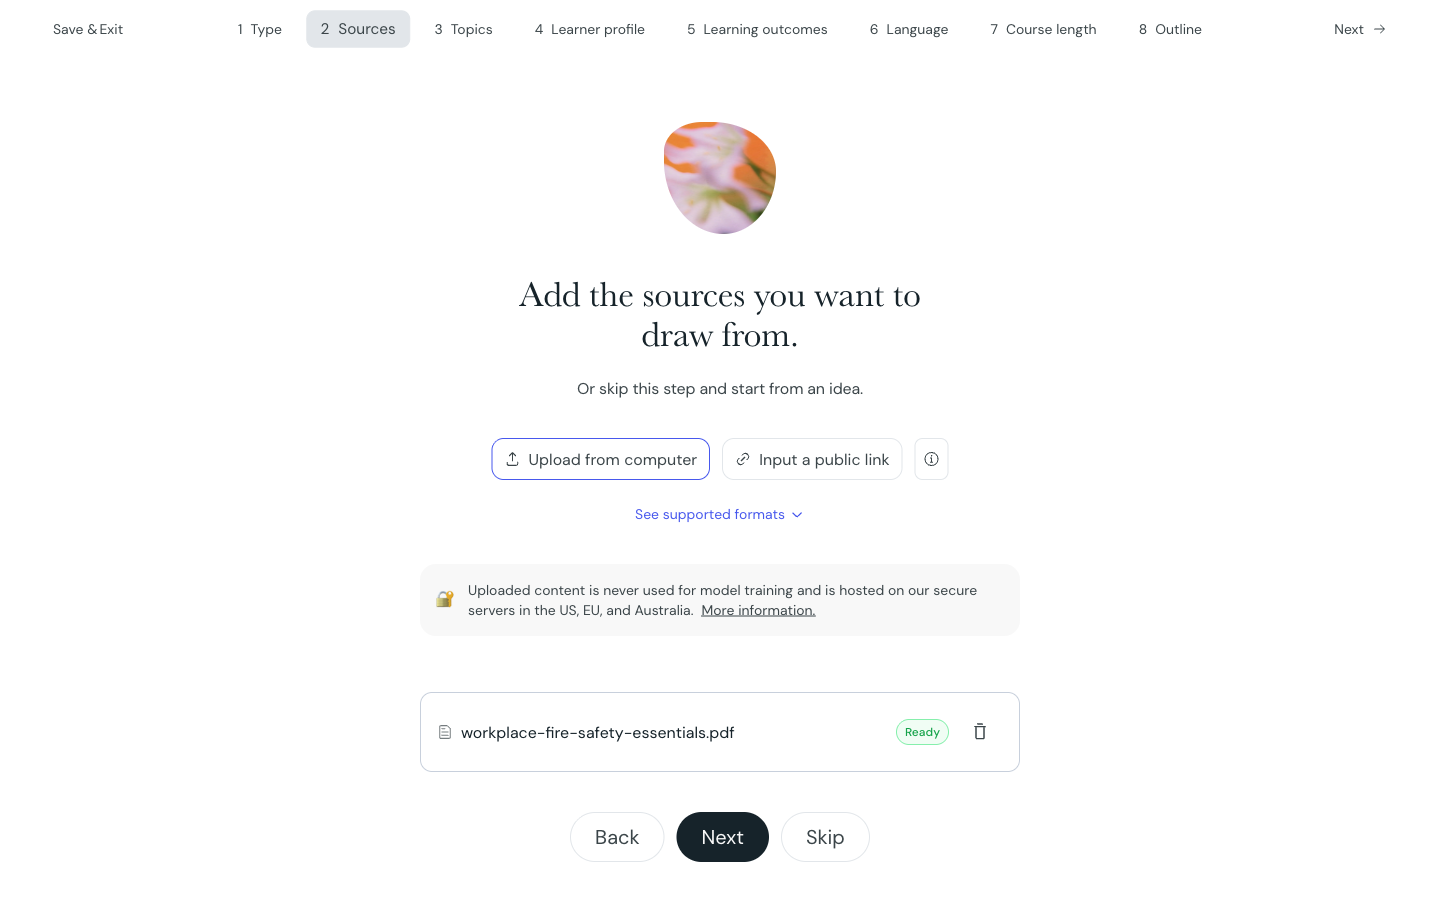
Add the materials you want the course drawn from: upload files from your computer, or add a public link. You can also skip this step and generate from an idea alone.
Supported uploads: PDF, Word (DOCX), PowerPoint (PPTX), audio, and video.
Up to 20 sources per course, up to 1 GB per file.
Public web links work; links behind a login (for example Google Docs, Google Drive, or Notion) do not.
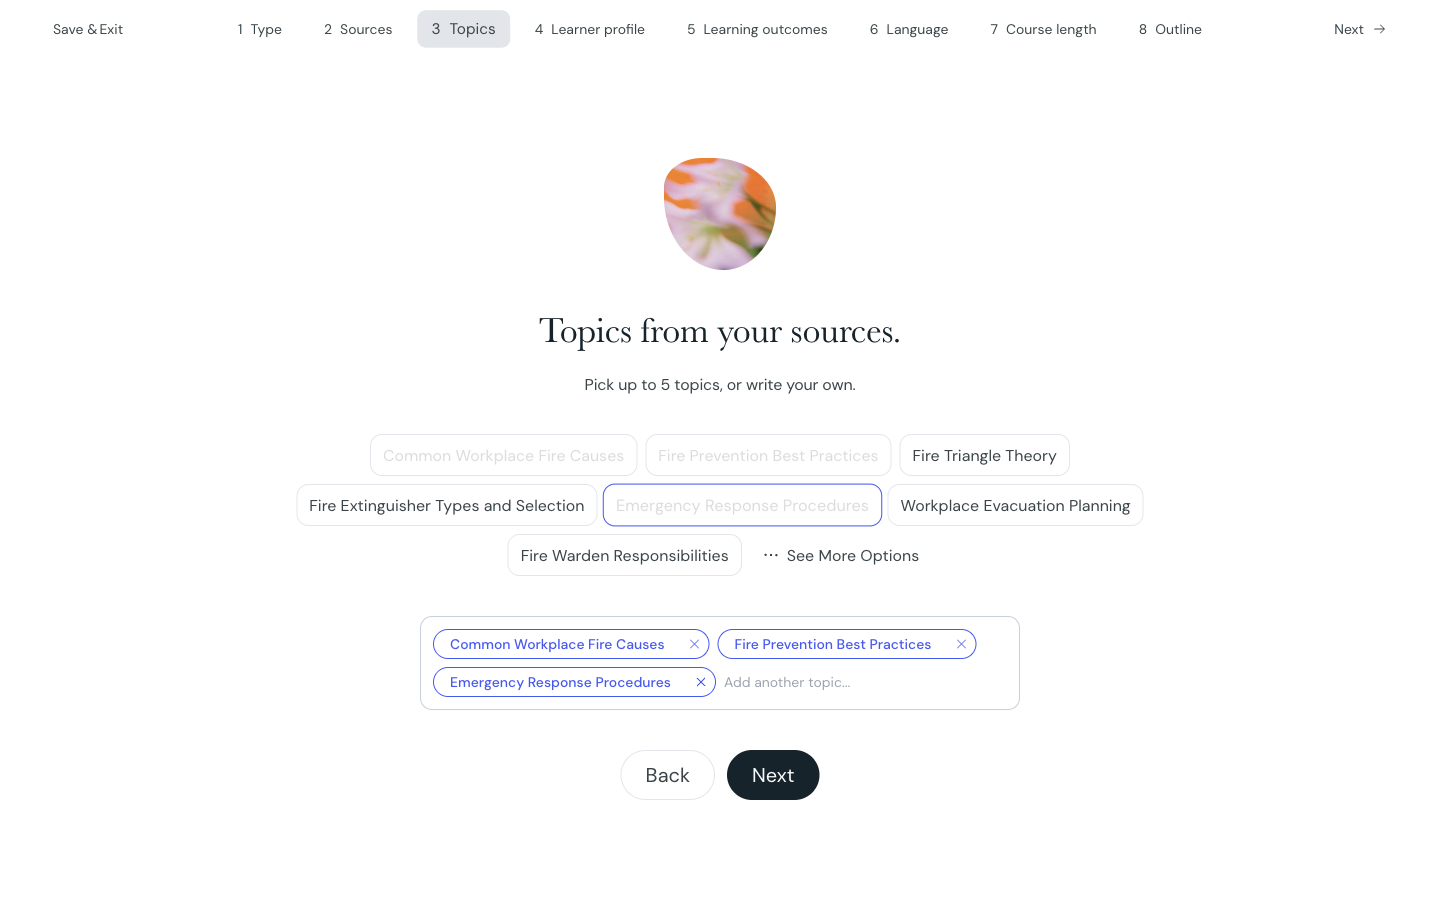
Topics set the subject focus. If you added sources, suggested topics are pulled from them; you can also type your own.
Pick up to 5 topics.
Optional, as long as you provide sources, a learner profile, or outcomes.
Stronger: "Fire extinguisher types" (specific enough to shape one part of the course).
Weaker: "Workplace safety" (broad enough to be several courses).
Why: a topic works best when it's specific enough to guide one area. Very broad topics pull the course in too many directions.
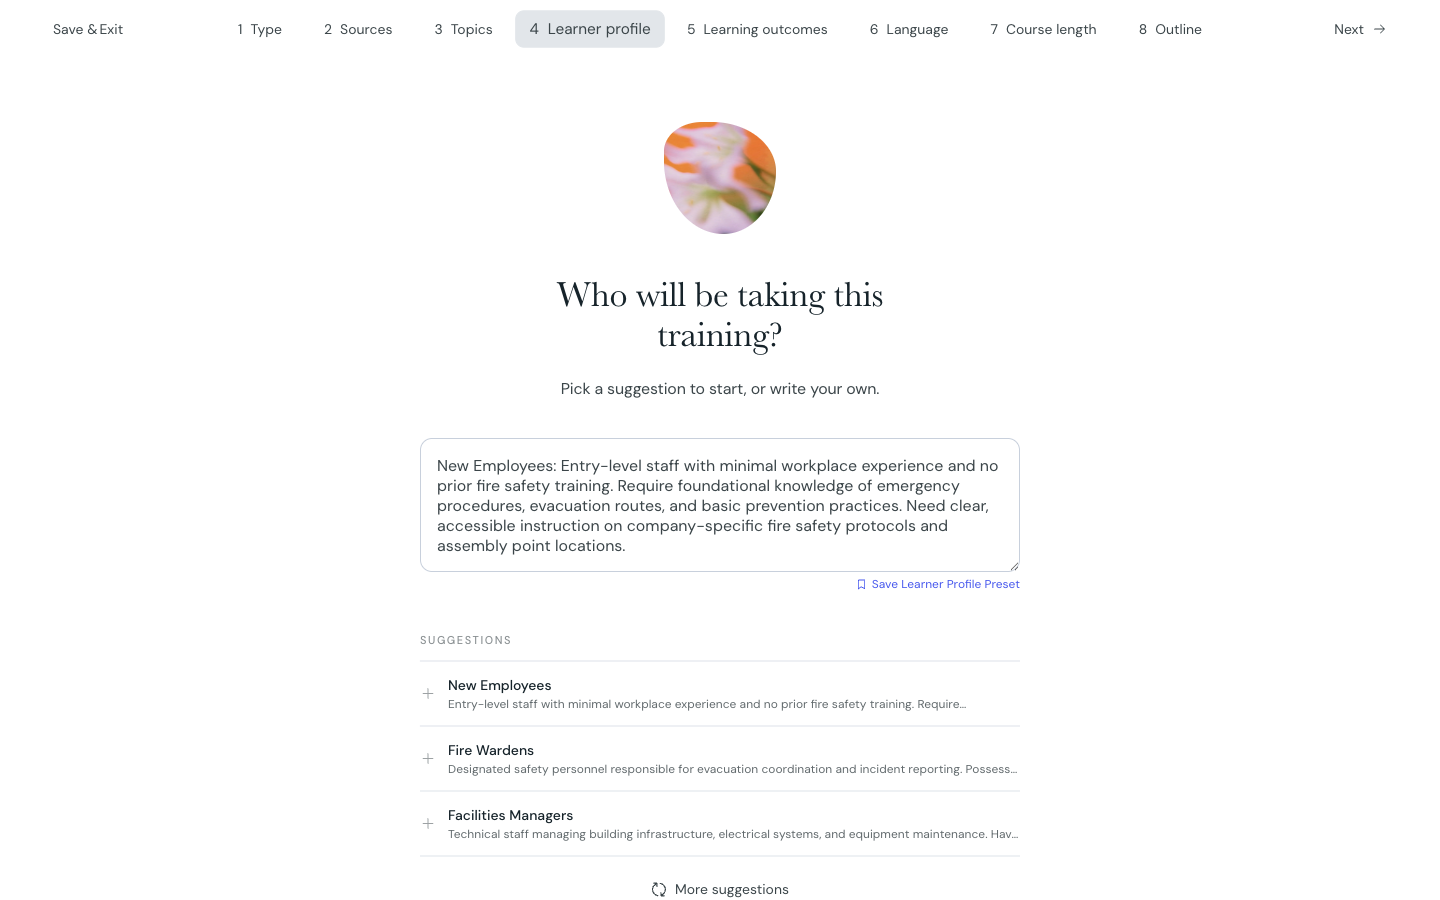
The learner profile is the biggest lever on how the course feels: it sets the depth, the assumed prior knowledge, and the register. Pick a suggestion to start, or write your own (up to 600 characters). A strong profile covers three things:
Who they are (roles, seniority, context)
What to assume they already know (this sets the starting depth)
What to do and avoid (for example "assume strong knowledge of X, avoid basic explanations, focus on Y")
Stronger: "New warehouse staff with no prior fire-safety training. Assume no background knowledge, keep it practical, and focus on evacuation steps."
Weaker: "Staff who need fire training."
Why: the stronger version tells the AI who the learners are, what to assume, and what to focus on, so it can pitch the depth. The weaker one gives it nothing to calibrate against, so it aims for the middle.
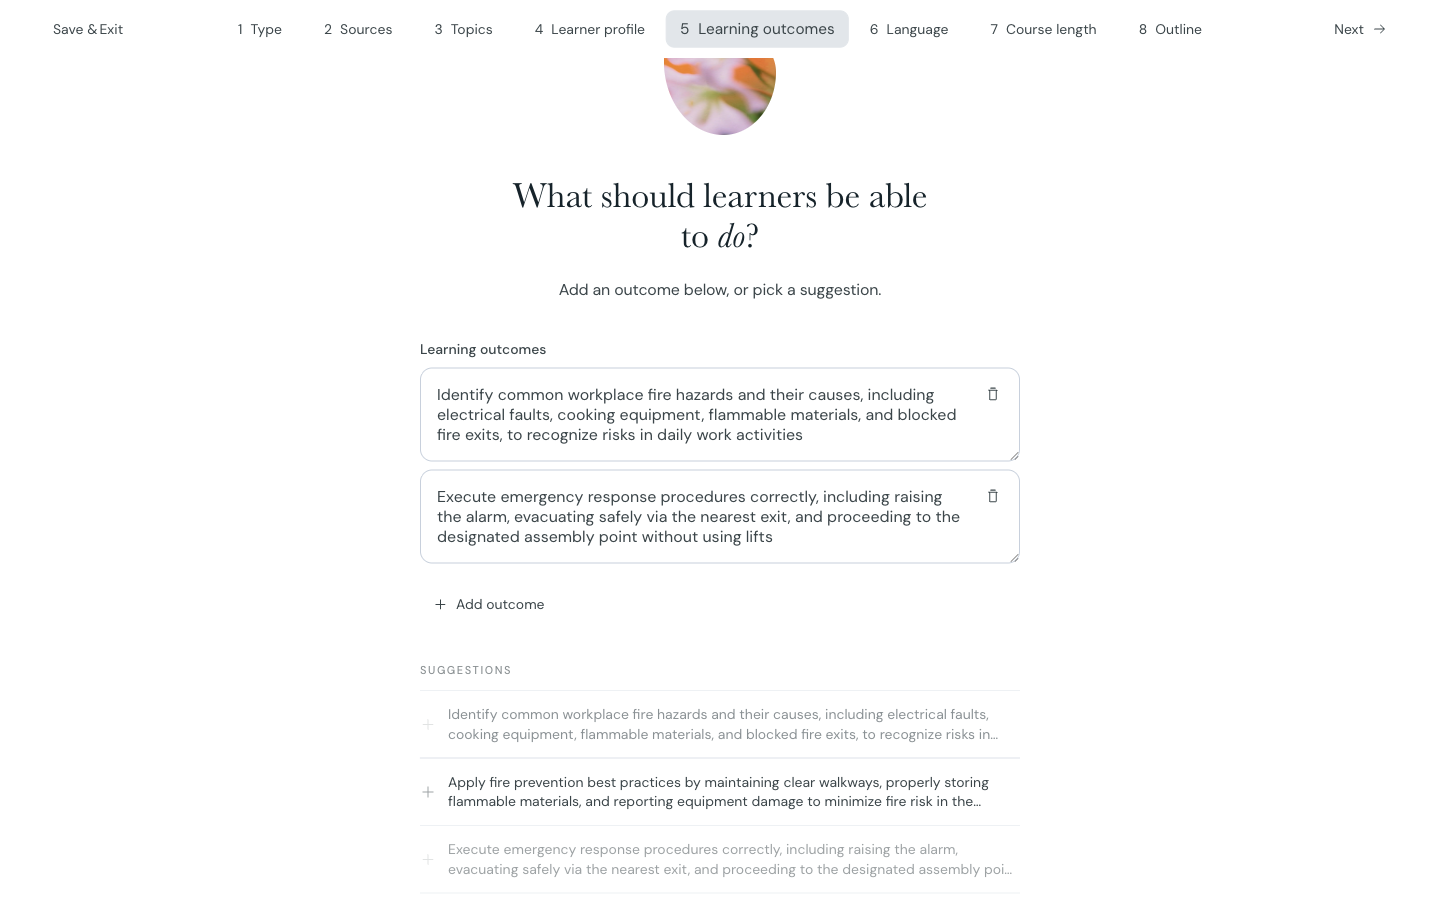
Outcomes are clear statements of what a learner will be able to do after the course. They are the strongest signal for what gets taught and how the course is structured. Add your own or pick a suggestion.
Up to 9 outcomes, each up to 500 characters.
Start each with an action verb pitched at your audience (identify, describe, apply for beginners; evaluate, design, prioritise for advanced learners).
One capability per outcome.
Stronger: "Select the right fire extinguisher for a given type of fire."
Weaker: "Types of fire extinguisher."
Why: the stronger version starts with a verb and describes something a learner can do (and you could check). The weaker one names a topic, which belongs in the outline, not an outcome.
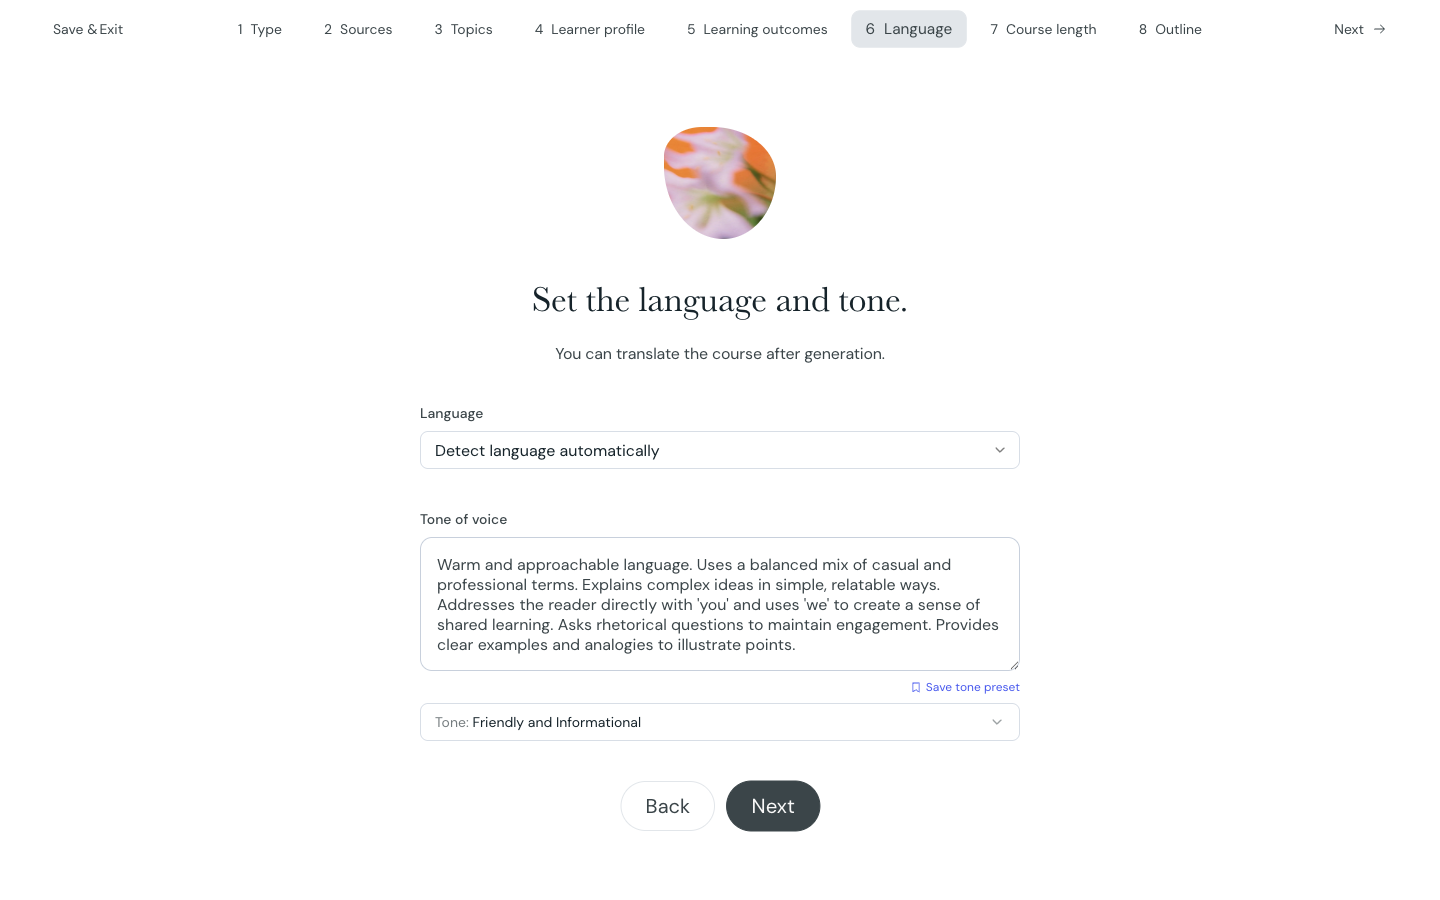
Choose the language the course is written in and the voice it's written with. You can translate the course after generation.
Leave language on Detect language automatically to follow your sources, or pick a specific language (including regional variants such as British or American English).
Choose a tone preset, or describe your own (up to 1000 characters). The default is a friendly, informational tone.
Stronger: "Warm and plain-spoken, for staff with no safety background; explain any technical terms simply."
Weaker: "Professional."
Why: the stronger version names the feeling and who it's for, so the AI can apply it consistently. A single word like "professional" is open to interpretation.
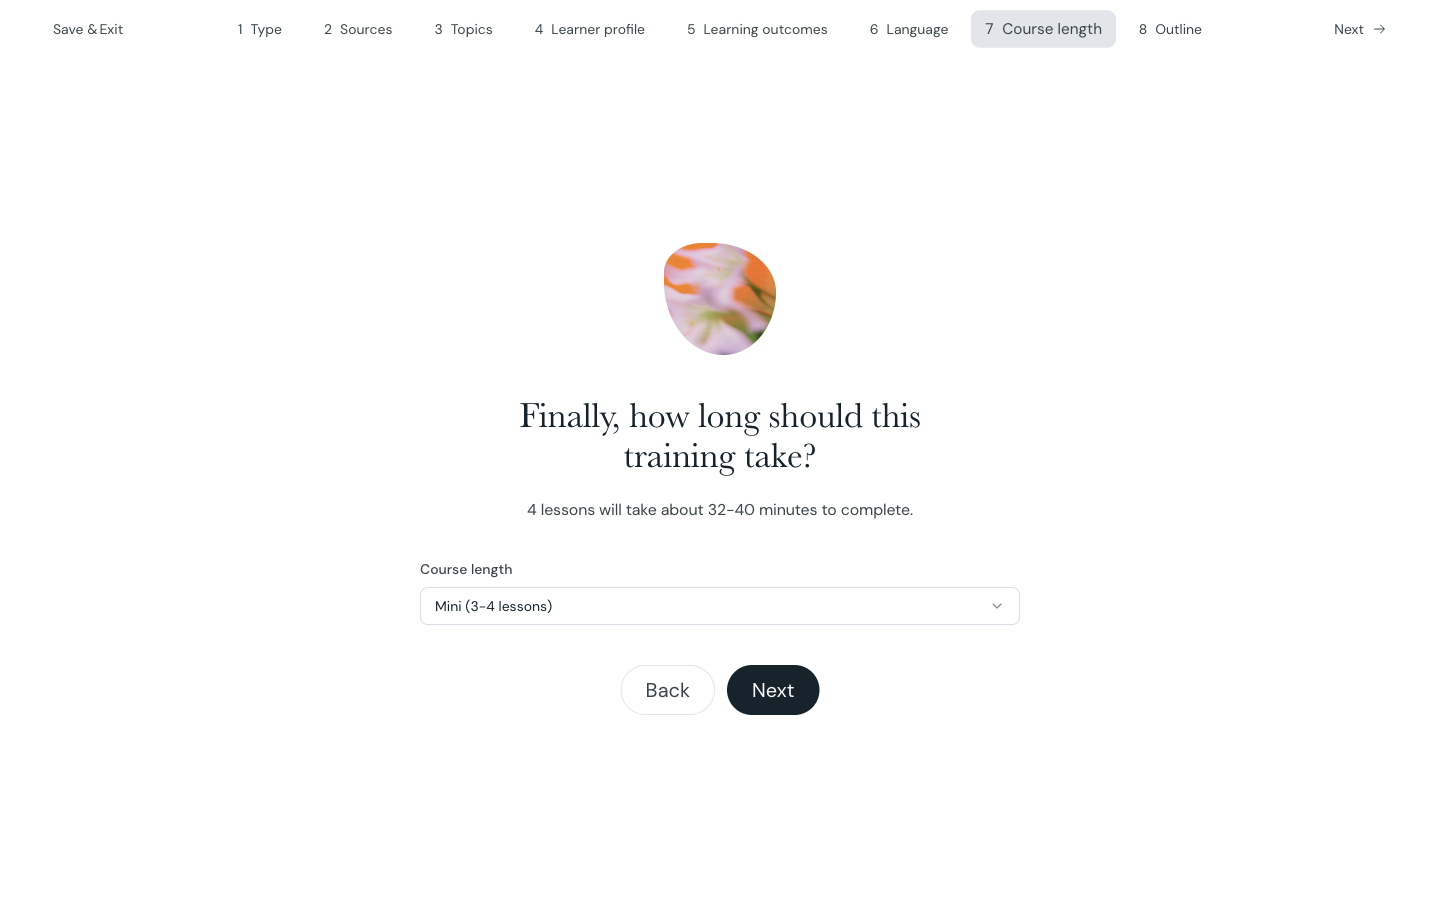
Length sets how many lessons the course contains, and roughly how long it takes a learner to complete. An estimated completion time updates as you choose.
Presets: Mini (3-4 lessons), Short (5-8), Medium (9-12), Long (13-16), Extra long (17-20).
Custom length lets you set an exact number, up to 30 lessons or your available credits, whichever is lower.
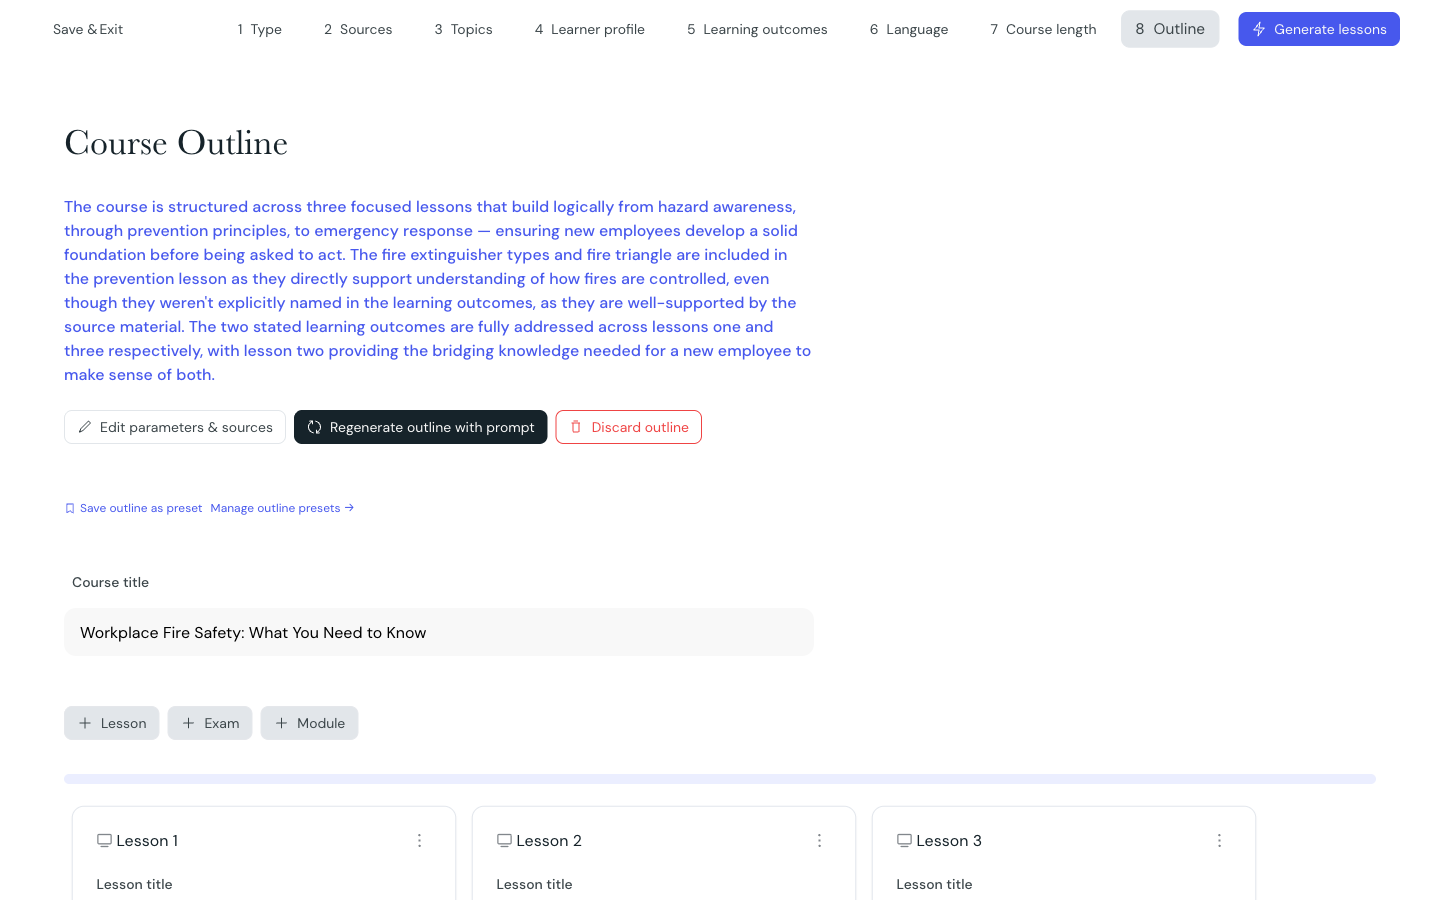
Before any lesson content is written, the AI generates a course outline: the title, a short rationale, and each lesson with its objectives. This is your chance to shape the structure, and it's the most overlooked step. Generating the outline uses 1 credit. You can:
Edit directly: rename lessons, rewrite objectives, add or remove lessons, and reorder them.
Regenerate outline with prompt: ask for changes in plain language, for example "Cover provision, governance, and resourcing, and skip the introductory material."
Edit parameters & sources: go back and adjust any earlier step.
Save the outline as a preset to reuse the structure later.
When you're happy, select Generate lessons to build the full course.
Do my outcomes describe capabilities, not topics? They should start with verbs and say what learners can do.
Do my profile, outcomes, and outline sit at the same level? Senior audience, senior structure. New audience, foundations included.
Can my sources actually support what I'm asking for? If not, add material or trim the outcomes.
Understanding Conversion Modes
Learn about the different ways to transform your source material into an interactive course, from direct 1:1 conversion to AI-augmented transformation.
